
Start to Finish Veneers: Part 3, Insertion with Adhesive Bonding
As evidenced by the previous two posts in this sequence, planning and preparing teeth for functionally cosmetic restorations is a demanding process that requires diligence, time, and expertise. The provider and patient should both be extremely excited for the final result of the hard work and time that has been invested. Although communication with the laboratory and the skill of the ceramist are critical factors in determining the final outcome, only after careful case planning, meticulous tooth preparation, and successful prototyping of the project, can successful delivery of final ceramics can be considered.
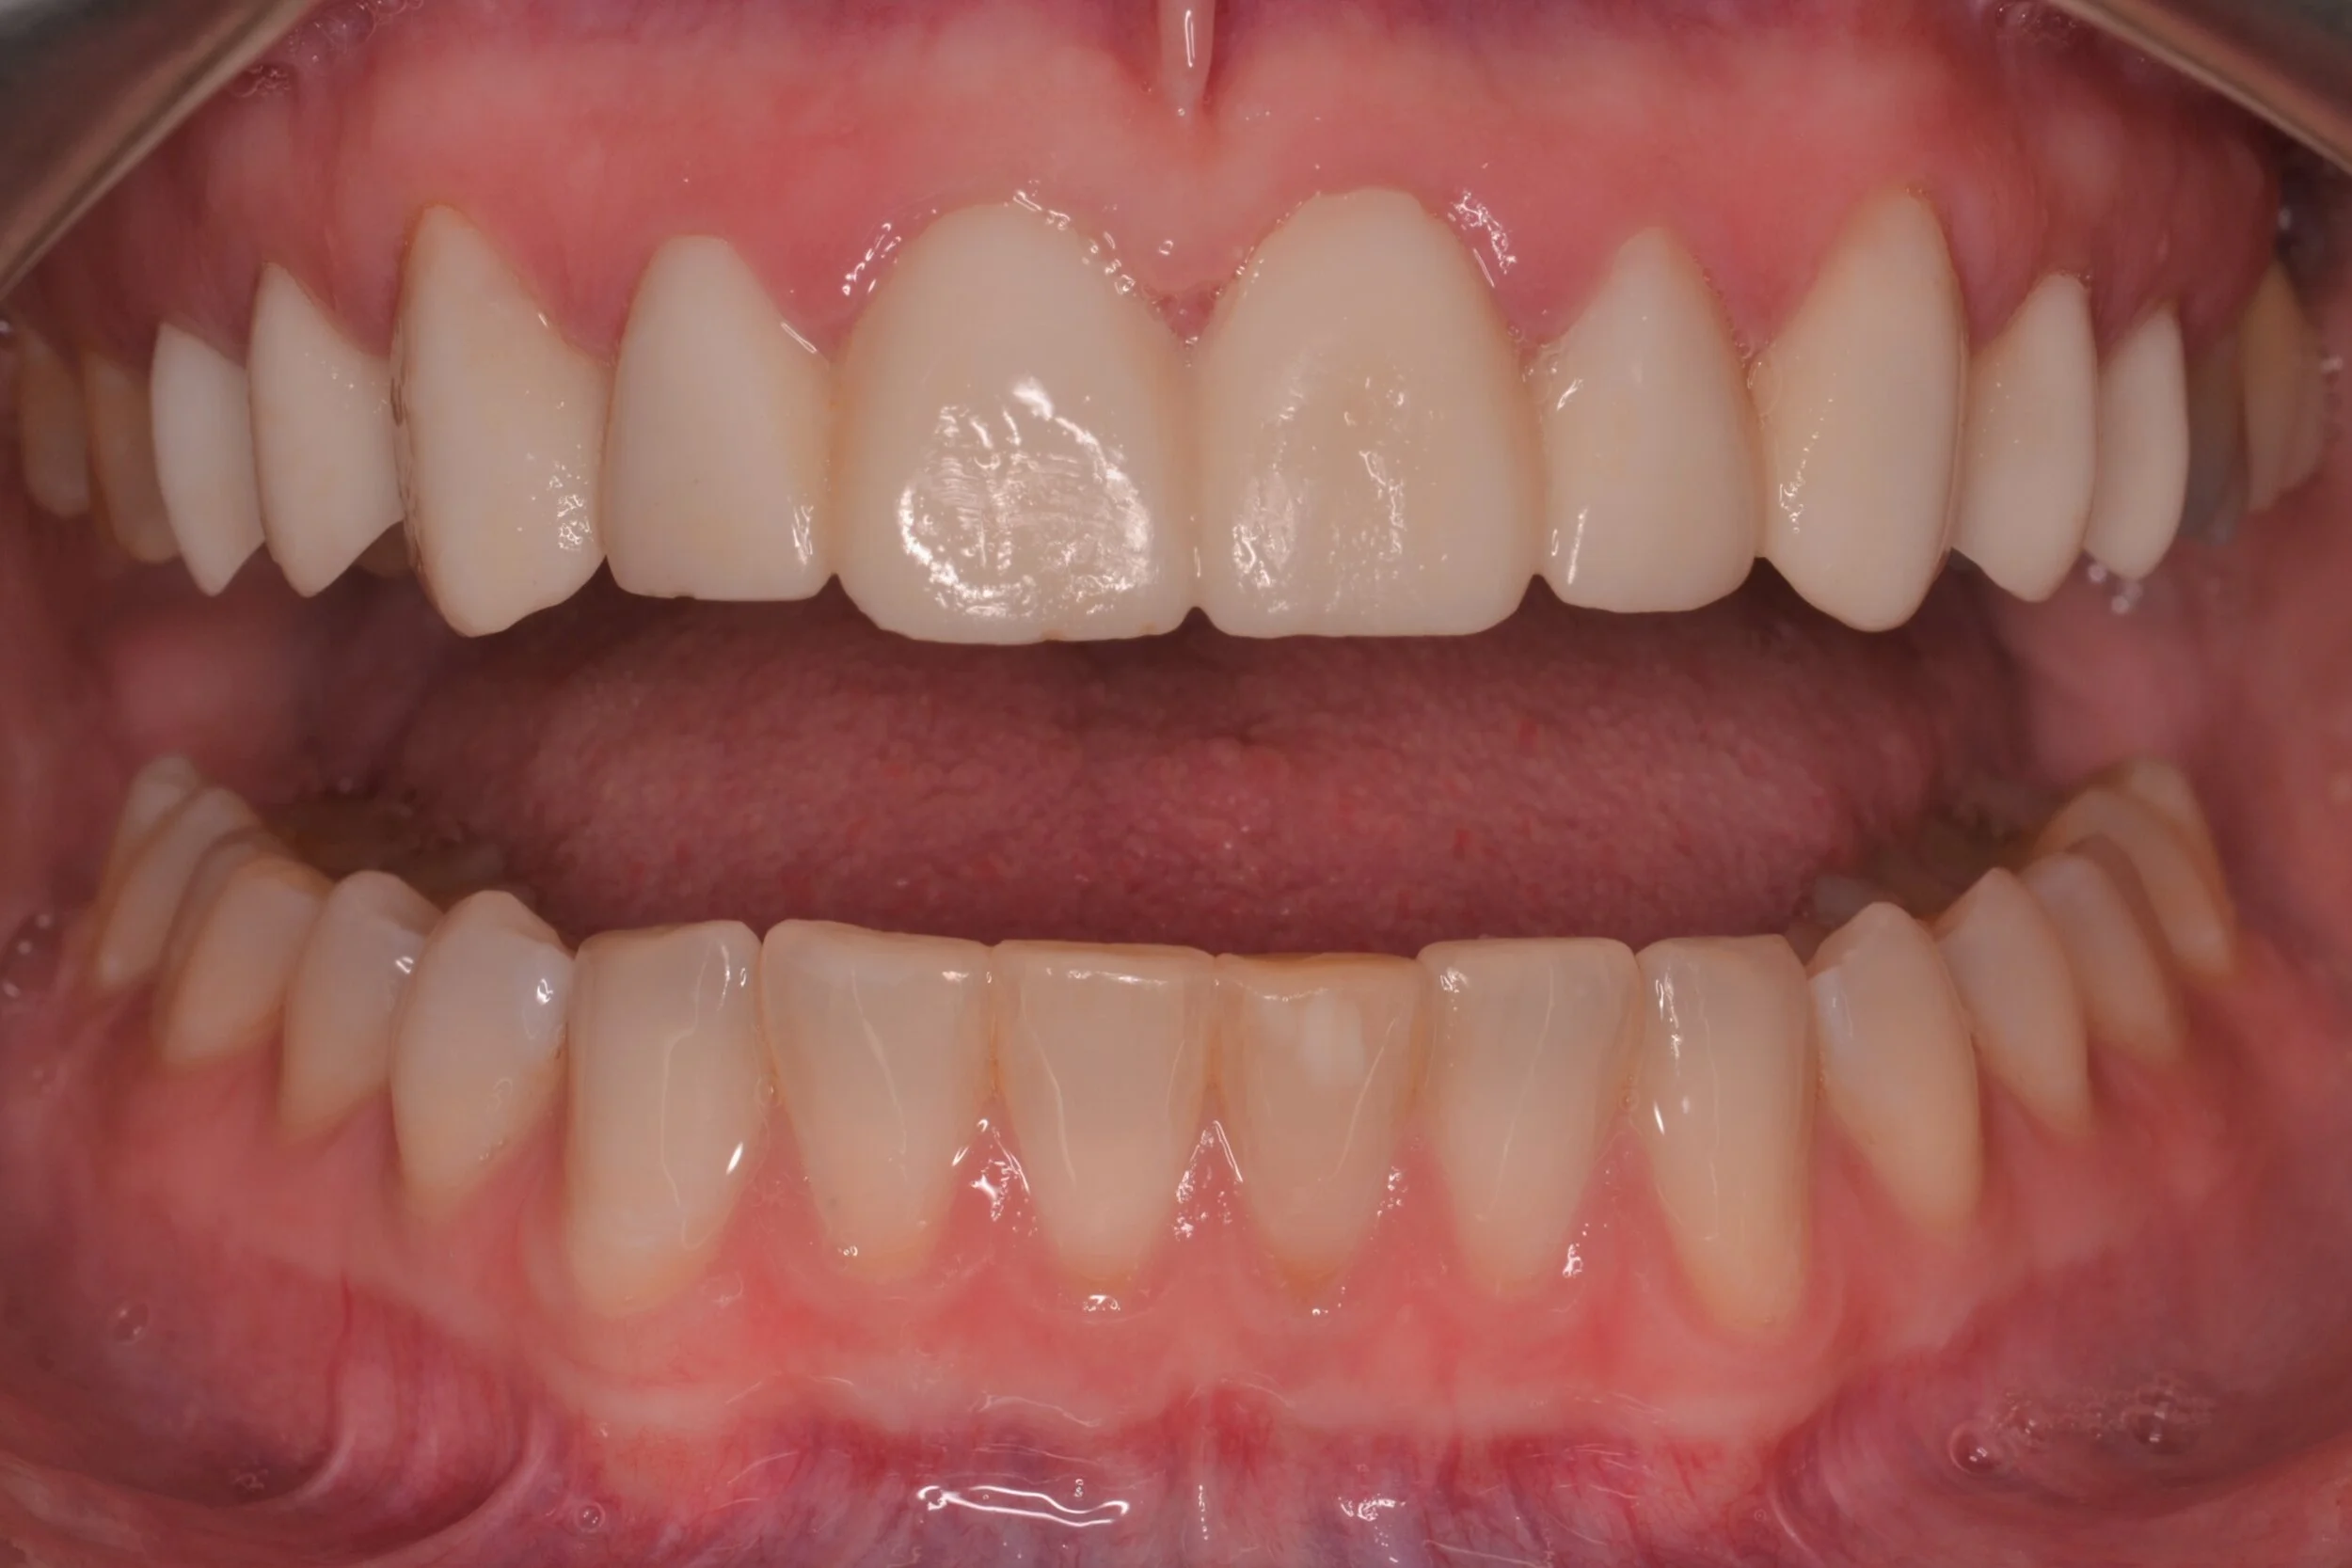
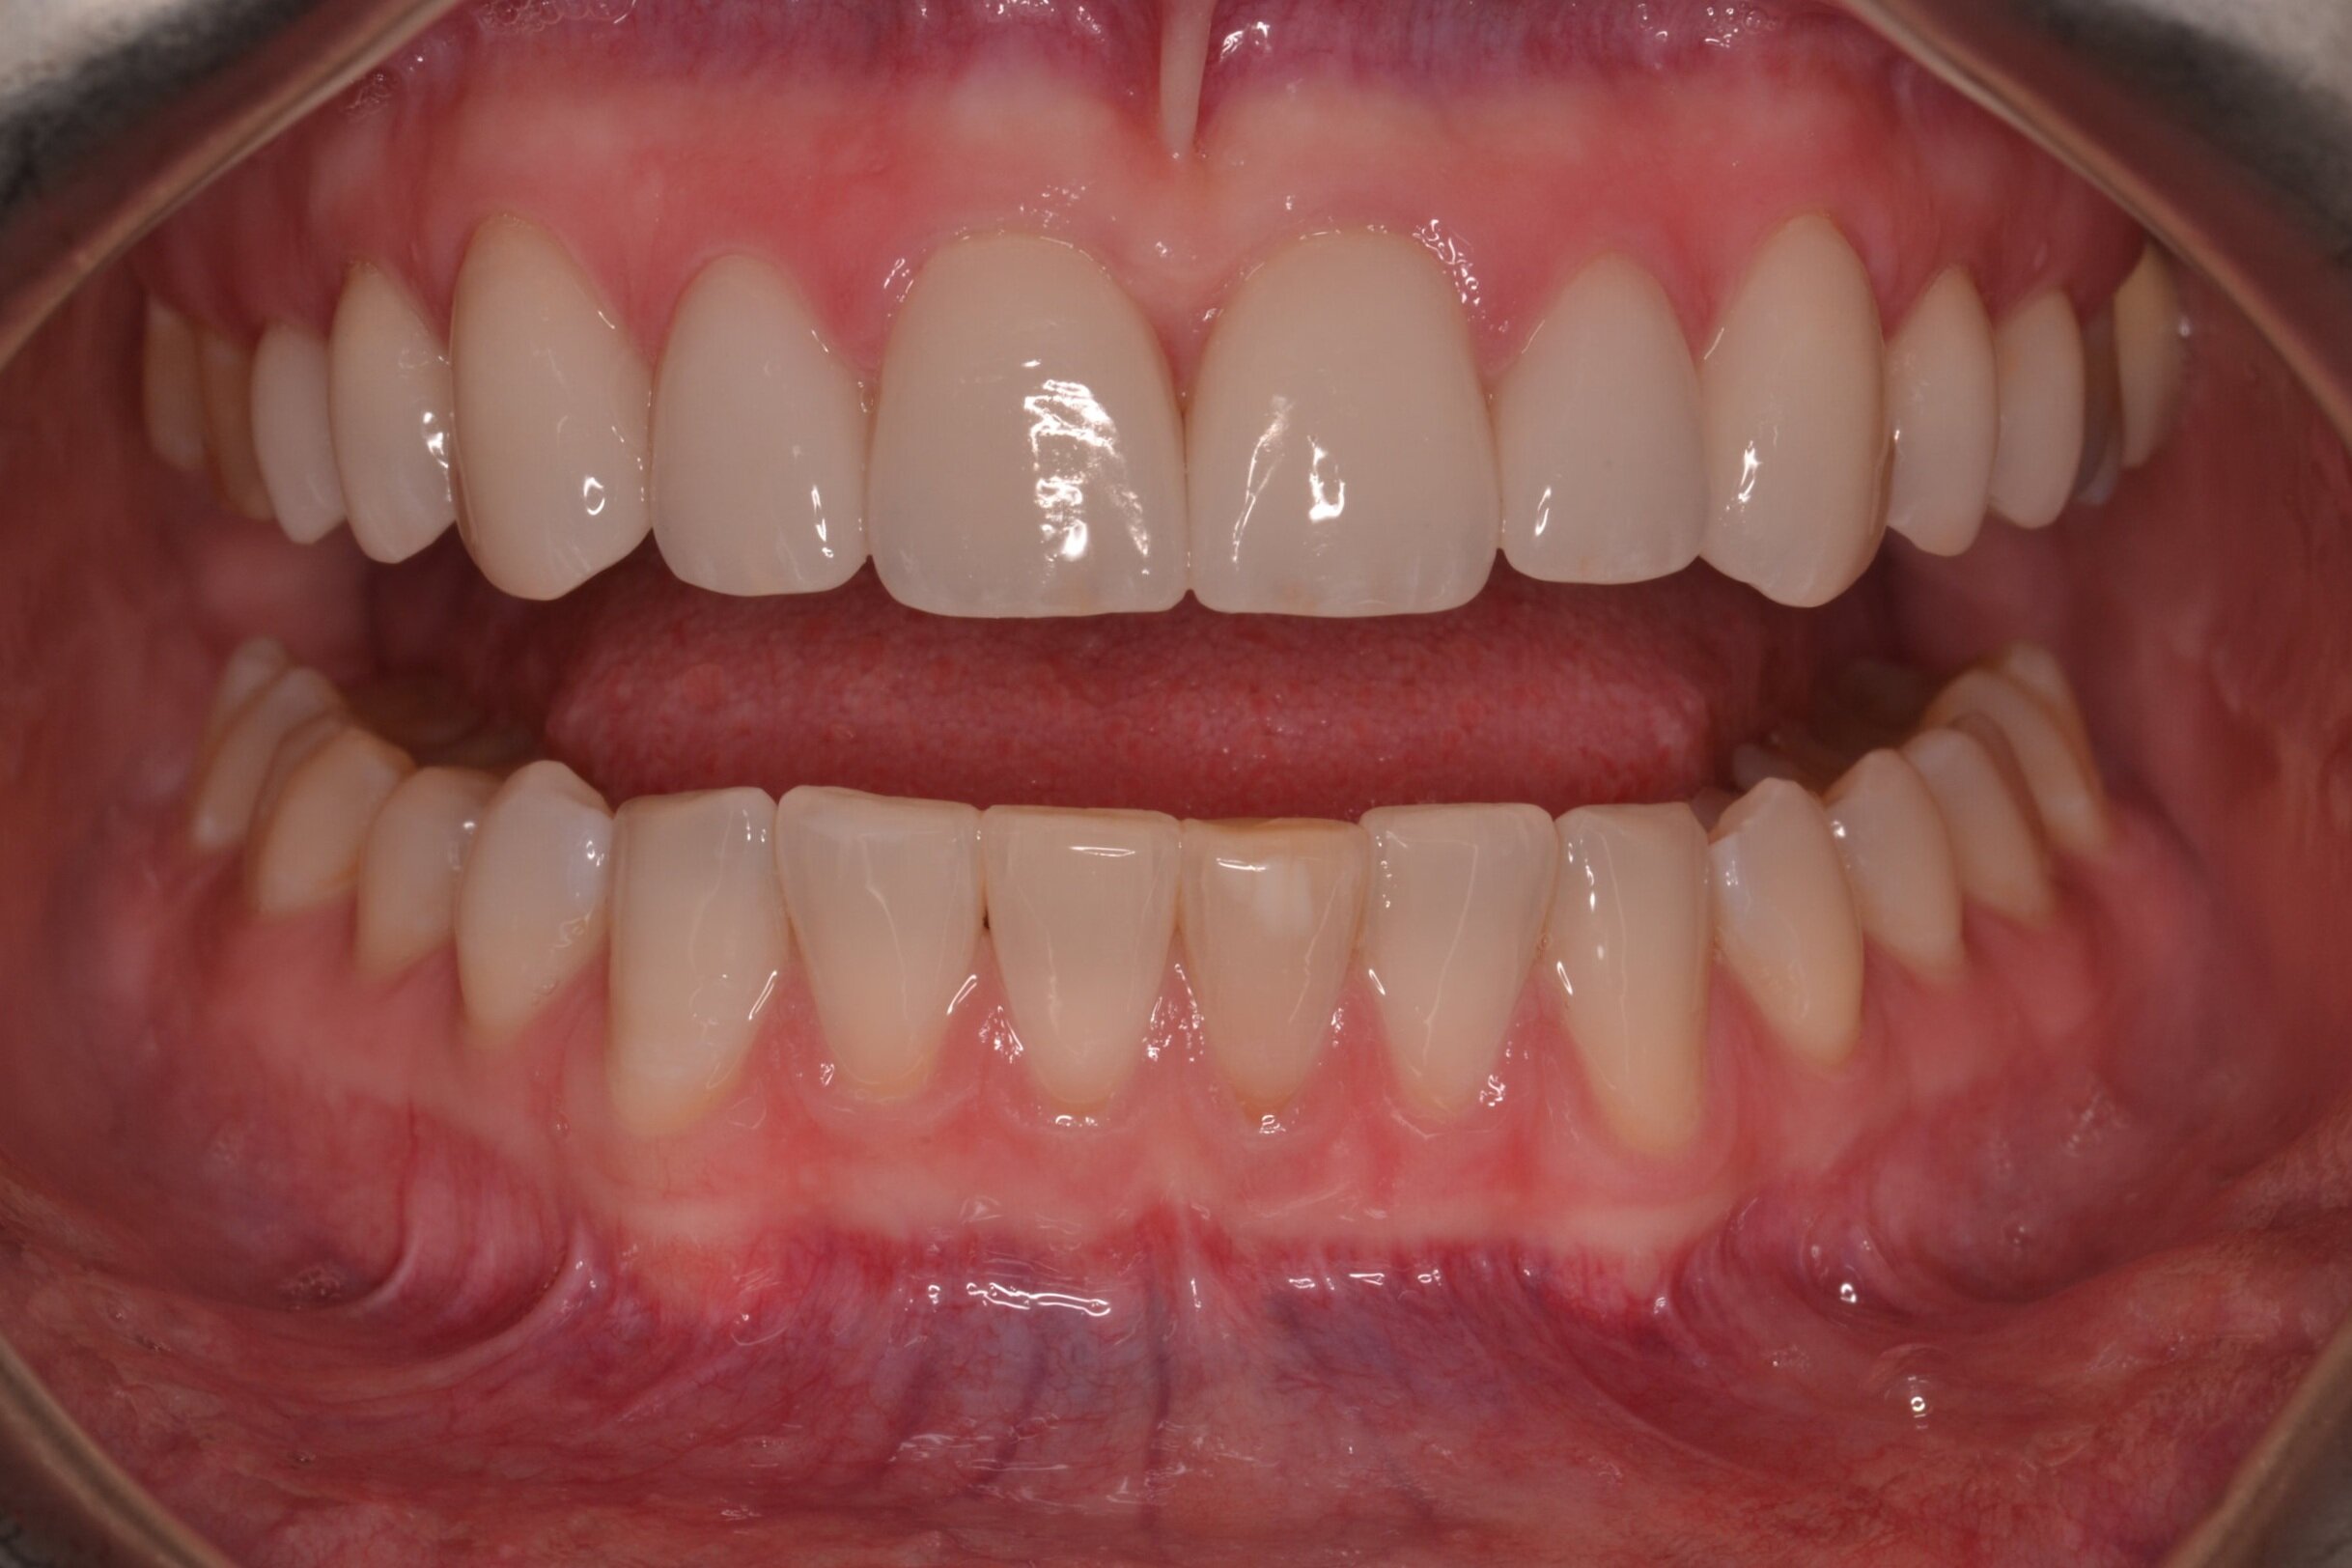
Figure 1; Presentation of patient and provisionals at delivery appointment
The importance of home-care and dental hygiene instructions for the duration of the provisional use is paramount, as an isolated field free of heme and debris is supremely advantageous for inserting cosmetic ceramic restorations with an adhesive bonding technique. Fortunately, the patient in this case was able to maintain good oral hygiene and presented with healthy gingiva that showed little to no sign of inflammation (figure 1). In cases where gingival inflammation will create heme that will interfere with adhesive bonding techniques, placing retraction cord in the gingival sulcus must be considered.
Before removal of the provisional restorations, the patient is anesthetized. This can be done with conventional buccal and facial infiltration techniques, or from the palate in an effort to preserve lip mobility in order to evaluate the smile and presentation of teeth relative to upper lip dynamics.
After the patient is comfortably numb, the provisional restorations are removed. Since a shrink-wrapping technique was used in this case, the provisional restorations are connected. A hemostat is used to crush and fracture the acrylic material in interproximal areas (figure 2). After gross removal of the temporary restorative material, hand instruments like scalers can be used to facilitate complete removal (figure 3a). The preparations are then polished using an oil-free flour of pumice (figure 3c), as the oil content in regular polishing paste commonly used for dental prophylaxis can interfere with bonding.

Figure 2; Crushing the provisionals with a hemostat to break them and facilitate removal.


Isolation of the operative field is an essential component of performing adhesive dentistry. Rubber dam isolation is most likely considered ideal for achieving maximum isolation. For this case, an OptraGate (Ivoclar Vivadent) was used to isolate the operative field and provide retraction of soft tissues (figure 4).

Figure 4; Isolated field with retraction using an OptraGate (Ivoclar Vivadent).

Glycerin based try-in pastes are consistent in shade with the final resin cement.
Composite resin cements are consistent in shade with the glycerin based try-in pastes.
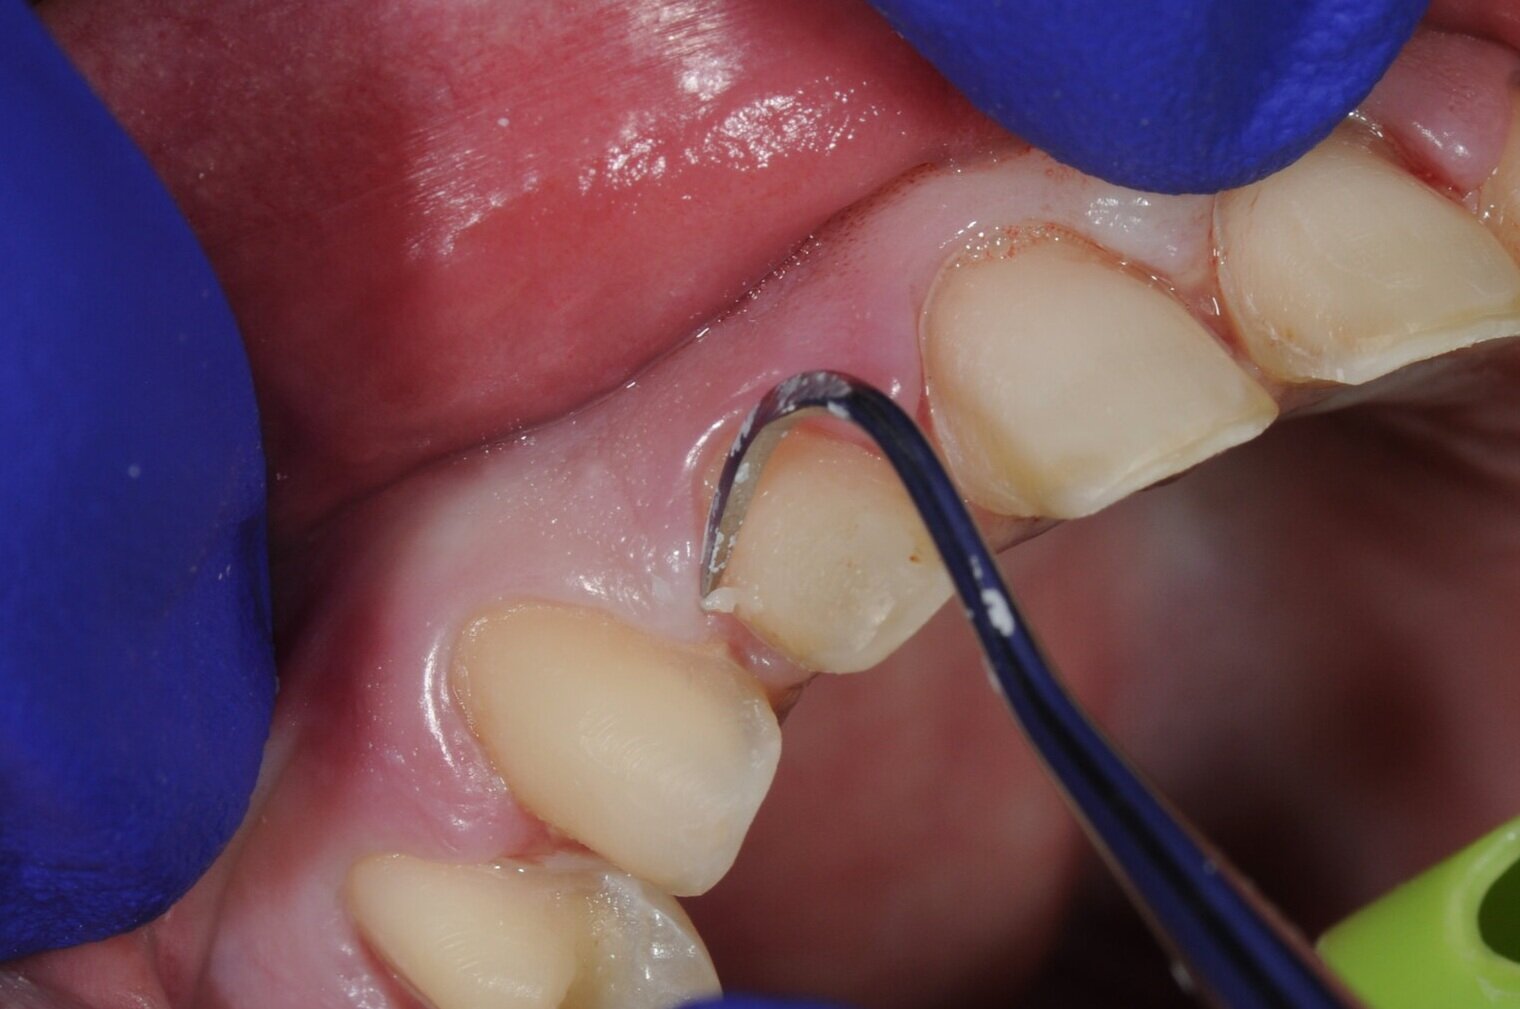
After the ceramics have been evaluated and verified for fit and composition on a stone model, individual ceramics are placed intra-orally to confirm marginal fit using visual evaluation and tactile inspection with a dental explorer (figure 5a, 5b). After the marginal adaptation and fit of each restoration is confirmed to be satisfactory, all restorations are placed onto the respective preparations with a water soluble glycerin based try-in paste (Variolink Esthetic, Ivoclar Vivadent) to evaluate interproximal contacts and the esthetic presentation of the adjacent grouping in situ (figure 5c, 5d, 5e, 5f, 5g). The advantage to the try-in pastes is two-fold. First, the paste will retain the restorations well enough for the patient to evaluate the shade and shape of the teeth, and the composition of the new smile. The patient should examine the ceramics in different light sources to ensure the effects of metamerism will not dramatically or adversely influence the shade presentation of the restorations. Second, the try-in paste will offer a replica of the final cement shade and any influence it may impart of the optics of the final restorations, namely the quality of color relating to value. In this case, the operator has three choices of try-in cements: “neutral,” which is desirable as it will impart no change on the presentation of the ceramics; “warm,” to lower the value if the restorations appear to bright; and “light,” to increase the value of the restorations if they appear to dull. The final resin cement should match the try-in paste that was confirmed during the trial arrangement. The try-in pastes are water soluble, and will rinse away will no effect on the final bond strength.
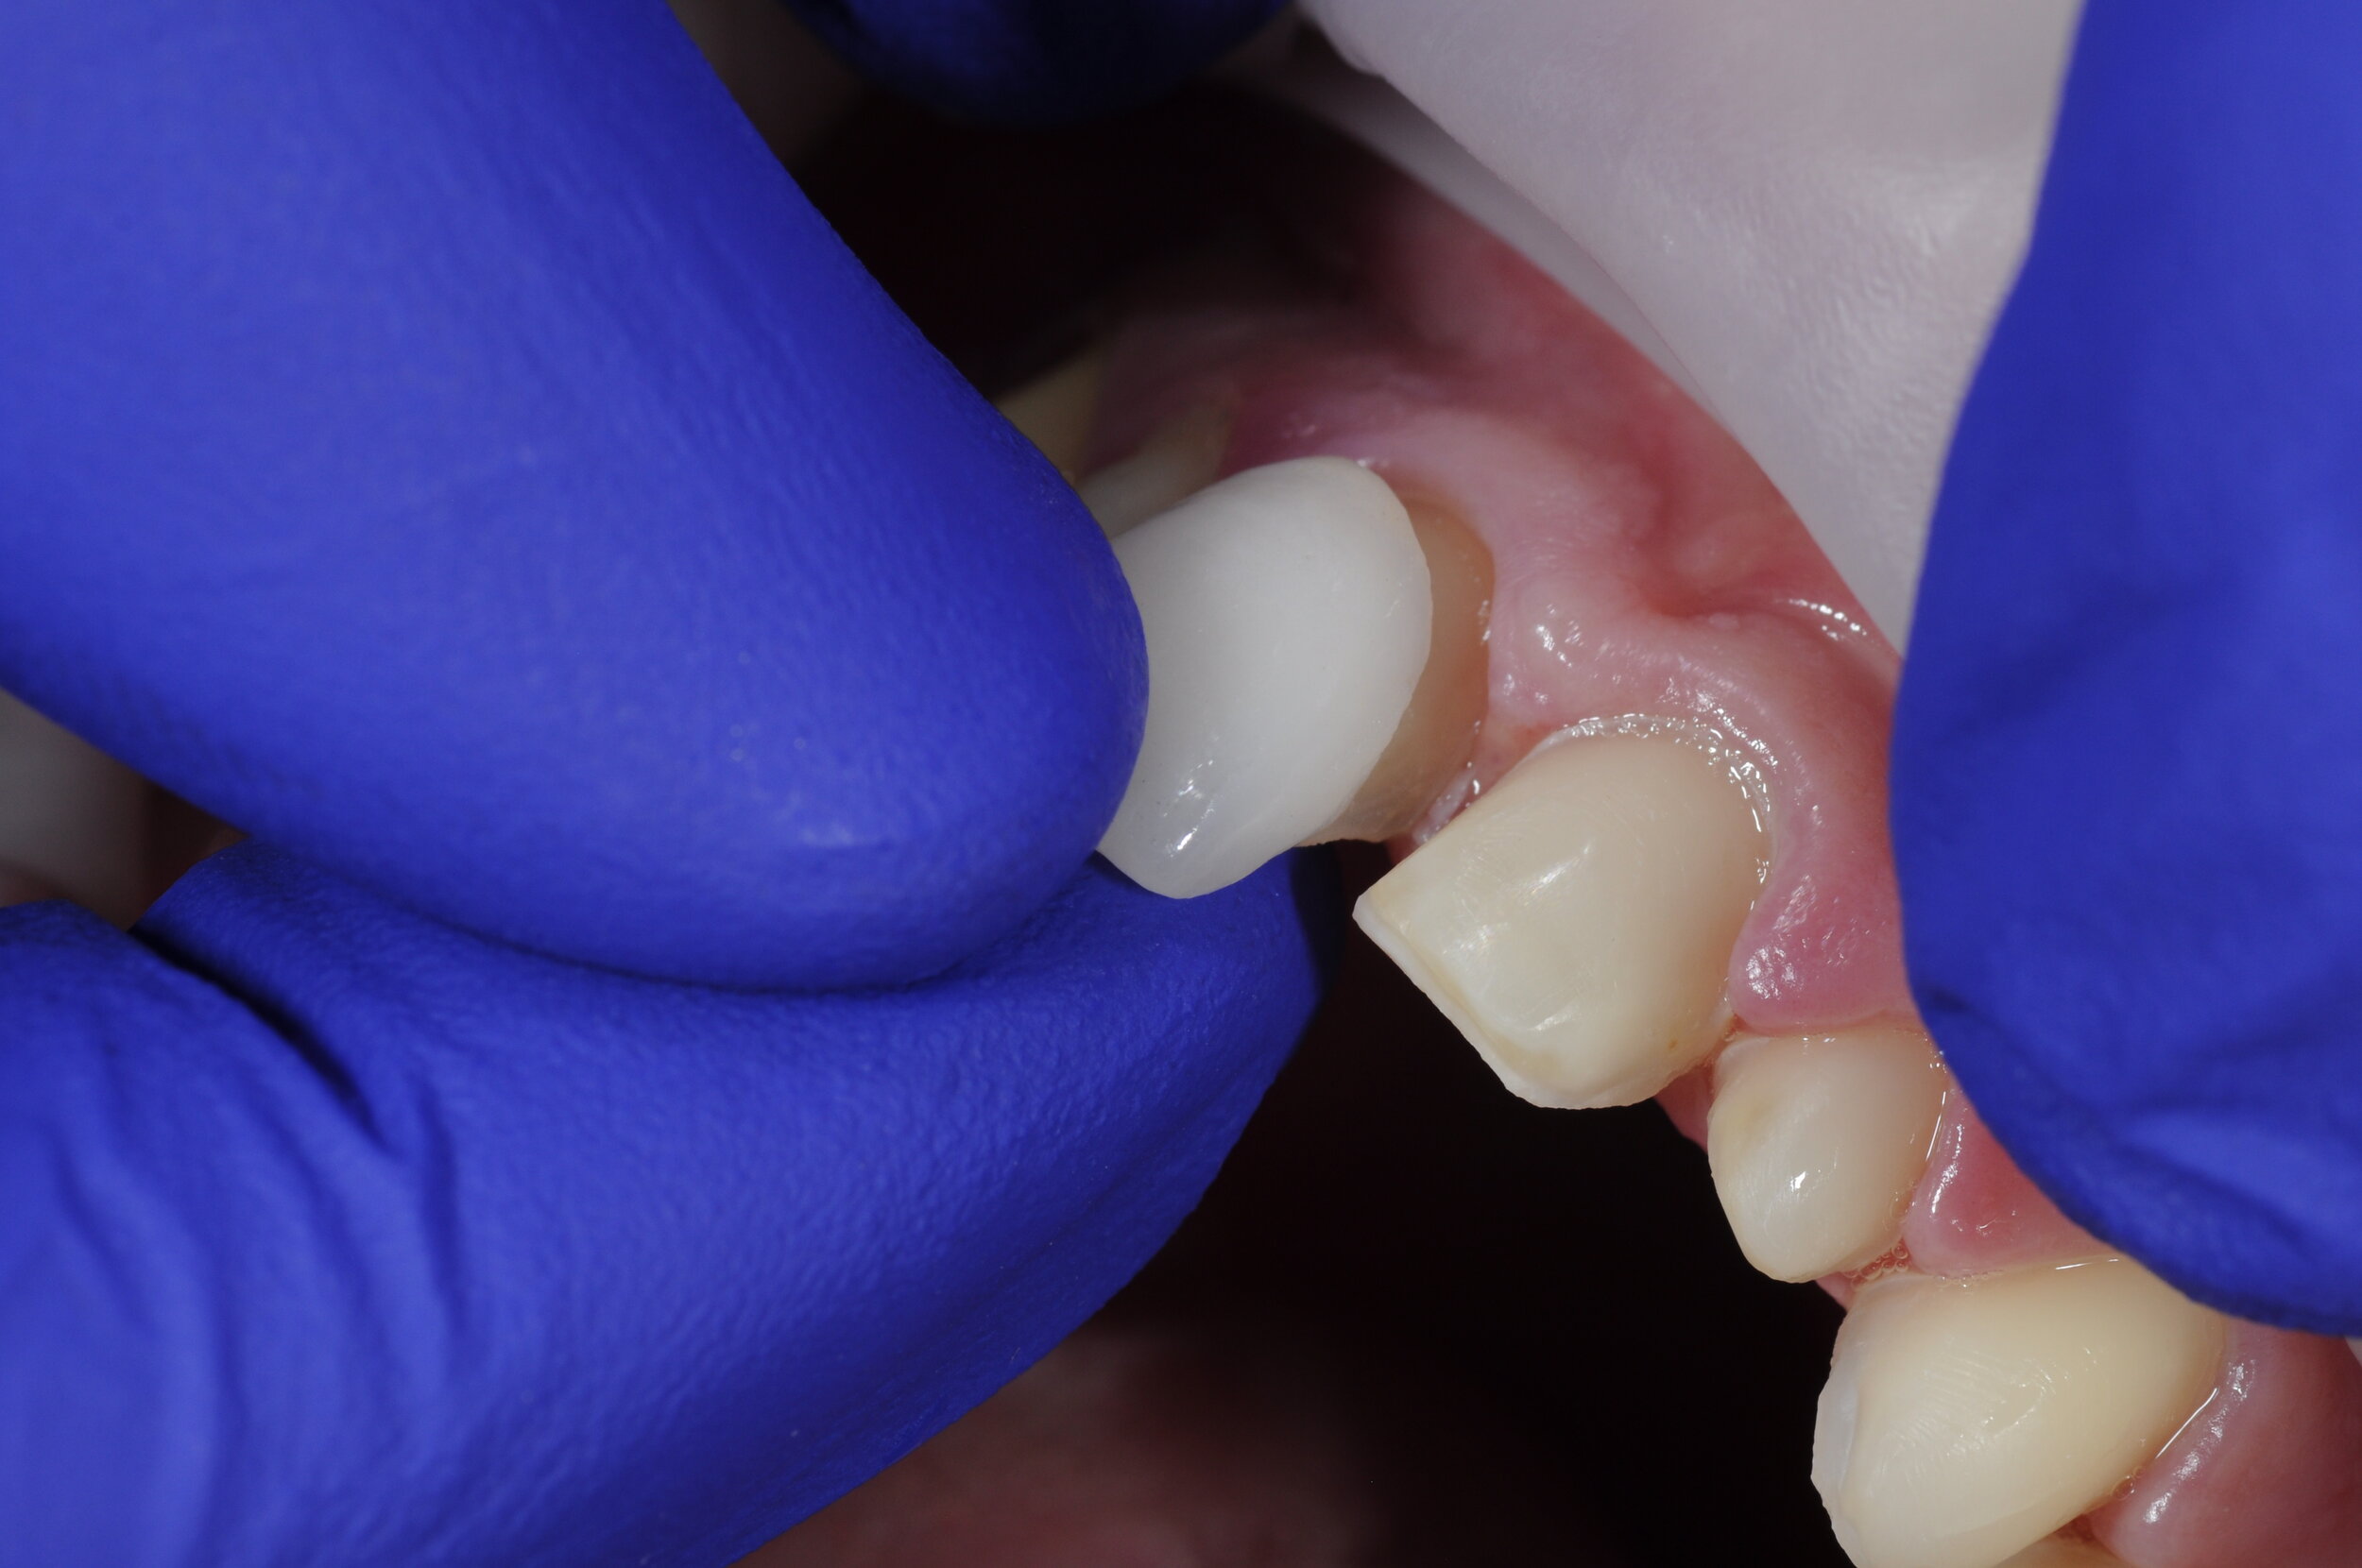


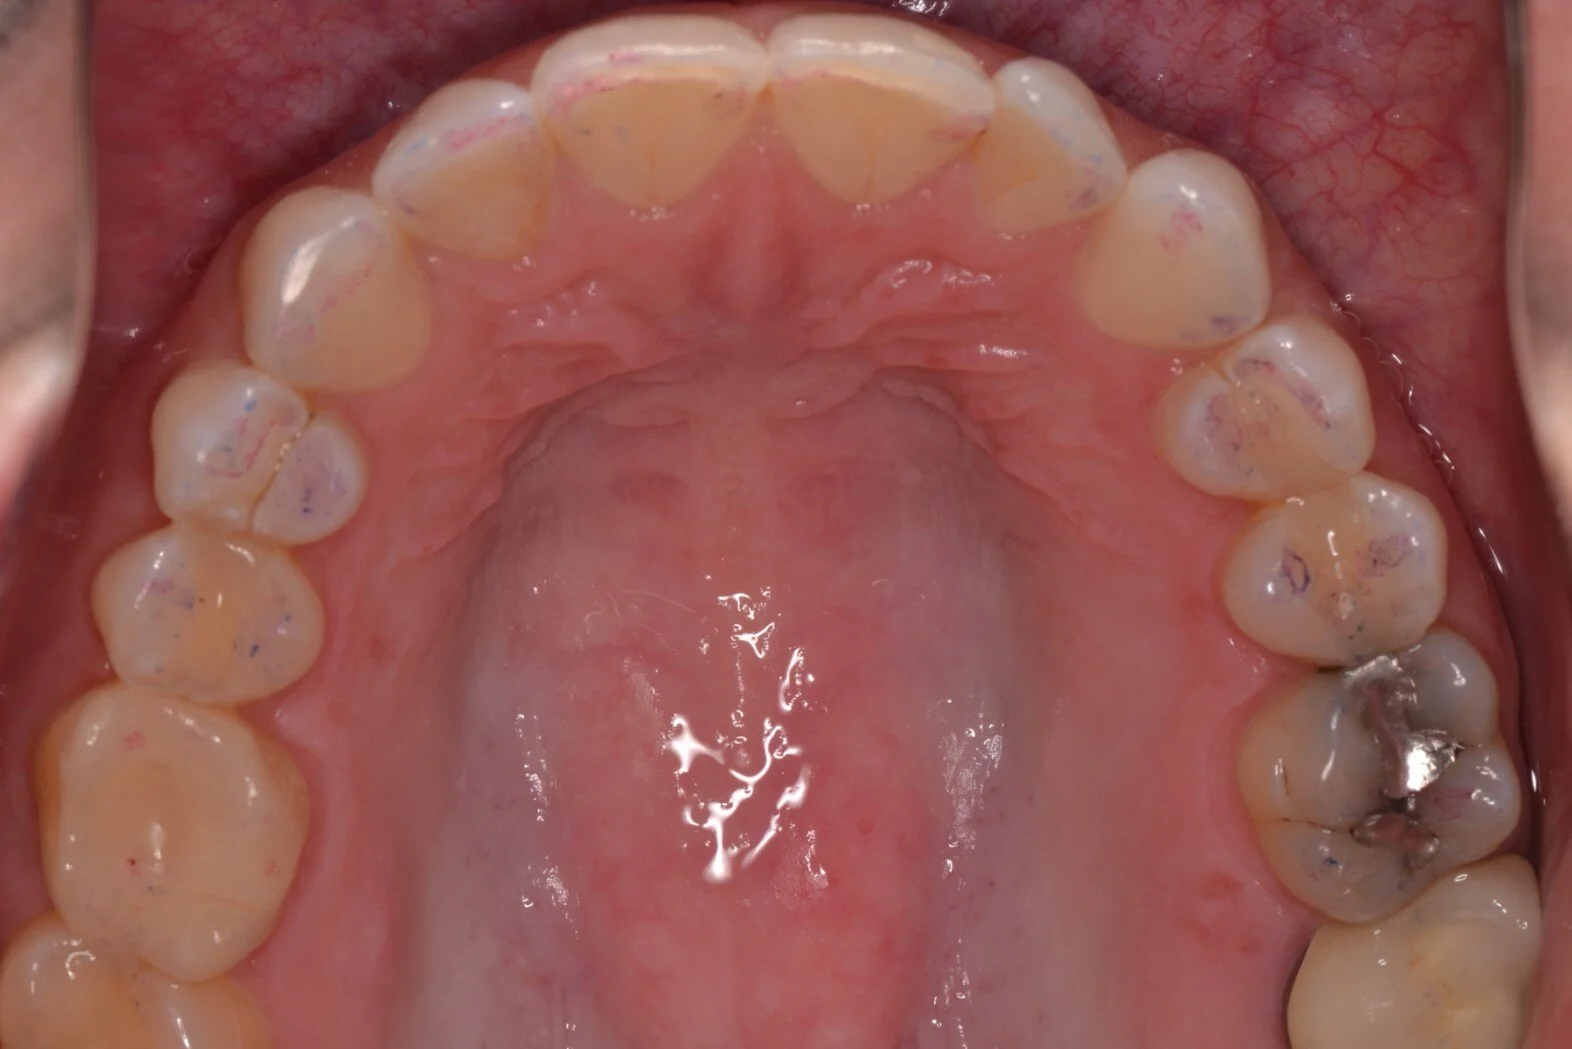
Figure 5g; Adjacent grouping of all ceramics placed in situ.
After all aspects of a cosmetic try-in are completed, and all elements of the try-in are satisfactory to the provider and patient, the steps for adhesive bonding insertion can commence.
The ceramic preparation should start at the laboratory. Ceramic materials must be etched with a hydrofluoric acid if they are to be adhesively retained. For this case, the lithium disilicate material that was chosen (eMax, Ivoclar Vivadent) was etched for 20 seconds with 5% hydrofluoric acid before being thoroughly rinsed and dried, per the manufacturer’s instructions. The parameters for the strength of HF acid and duration of contact with the ceramic vary depending on material, but the effect is the same: the acid dissolves glassy components within the crystalline matrix to create micromechanical retention via tunnels and grooves necessary for adhesive bonding. In a similar way to etched enamel, the surface of the ceramic should subsequently appear slightly frosty but clean, with no precipitate residue or cracks (figure 6a, b). After the ceramics are tried-in intra-orally, they are considered contaminated and must be cleaned prior to further preparation and delivery to ensure a high bond strength. Although reapplying 5% HF acid will sufficiently clean the intaglio surface of the restoration, HF acid is extremely caustic and has special handling considerations. Furthermore, over-etching the ceramic can create salt precipitates that interfere with bonding. Over-etching can also weaken the structural integrity of the ceramic. An alternative to re-etching with HF acid is to use a metal-oxide based cleaner with a high affinity for the phosphate chain groups that contaminate the surface to be bonded and interfere with adhesion. For this case, IvoClean (Ivoclar Vivadent) was used to remove phosphate chain groups and clean the restorations by coating the intaglio surface of each restoration for 20 seconds before being rinsed thoroughly with water and dried with an air-only syringe (figure 6c). In the case that an operator does not have these specialty items available, 37% phosphoric acid etchant can be used to coat the intaglio surface of the restoration for 60 seconds before it is rinsed and placed in water and an ultrasonic bath for five minutes. To improve bond strengths and bond durability over time, a silane coupler is applied to the clean ceramic restorations (figure 6d). By applying a silane methacrylate to the ceramic material, a chemical reaction occurs that creates a methacrylate silicate compound capable of cross-linking the silica content in the ceramic restorations with the methacrylate content in the resin cement. Multiple coats may need to be applied, and the chemical reaction will take at least 90 seconds. At this point, the ceramic restorations are fully prepared for insertion with an adhesive bonding technique, and are organized according to tooth number to avoid confusion during the procedure.


After the ceramics are adequately cleaned and prepared, the tooth structure must be prepared to receive the restorations in kind. Adequate isolation of the surgical field is required. In this case, an Optragate was used, but a solid argument can be made that a rubber dam would be the standard of care for proper isolation to employ and adhesive bonding technique. Selection of materials is paramount here, as there are a number of adhesives and resin cements on the market for the application of bonding indirect restorations to natural tooth structure. Multiple generations of adhesives and multiple iterations of resin cements have the potential to make adhesive dentistry confusing (figure 7a, 7b). When bonding to natural tooth structure, the core principles remain the same. Dentin must be etched adequately using an acid etchant. Enamel must be etched adeuately using an acid etchant.. A hydrophilic monomer (primer) must be used to infiltrate partially collagenous dentinal tubules for an appropriate amount of time. A hydrophobic monomer (adhesive) must be used to complete the formation of a hybrid layer that will link tooth structure to the methacrylate groups in composite resin cements. Moisture control and the absence of contaminants is paramount. Specific instructions and use indications will differ between the various adhesive systems and cements. It is the responsibility of the provider to use adhesive bonding systems that are compatible with the resin cement of choice.

Figure 7a

Figure 7b
The teeth are reinspected for debris or residual material and carefully polished again with oil-free flour of pumice paste.
The tooth surfaces to be bonded are etched adequately using a 37% phosphoric acid etch. If using a total etch system, the duration of etching is 25 seconds. Even in cases where an All-in-One or Universal adhesive system is utilized, etching the enamel separately is wise to ensure adequate etch. The tooth structure is rinsed for 20 seconds and then dried thoroughly using an air-only syringe. In this case, a universal adhesive (Adhese Universal Viva Pen, Ivoclar Vivadent) was applied to each tooth for 20 seconds each. The solvent was gently evaporated using an air-only syringe before being light cured for 10 seconds on each tooth. The adhesive does not necessarily need to be cured prior to insertion, but complete polymerization of the bond before insertion with a light cured resin cement will yield a higher final bond strength. Although a dual-cure cement with a compatible adhesive can be used to insert veneers, working time will become a concern with this choice, as the chemical cure of the material will commence and complete within a pre-determined amount of time.


Dr. Ryan J. Yakowicz, DDS, FAGD
Dr. Yakowicz practices in the Greater Madison Area of South Central Wisconsin. Having completed over 800 hours of continuing education, his special interests include functionally cosmetic full mouth rehabilitation, TMD and oral-facial pain, and surgical implant placement and prosthetic restoration.
Dr. Yakowicz is currently the president of the Madison Dental Progress Forum Study Club and the Wisconsin Institute for Advanced Dental Education. He is a Fellow of the Academy of General Dentistry, and a member of the American Academy of Cosmetic Dentistry, and the American Academy of Fixed Prosthodontics. Additionally, Dr. Yakowicz participates in research studies for the National Provider-Based Research Network and is an Ambassador to the National Health Service Corps.